
How to install Zoom Client on MAC
Instructions
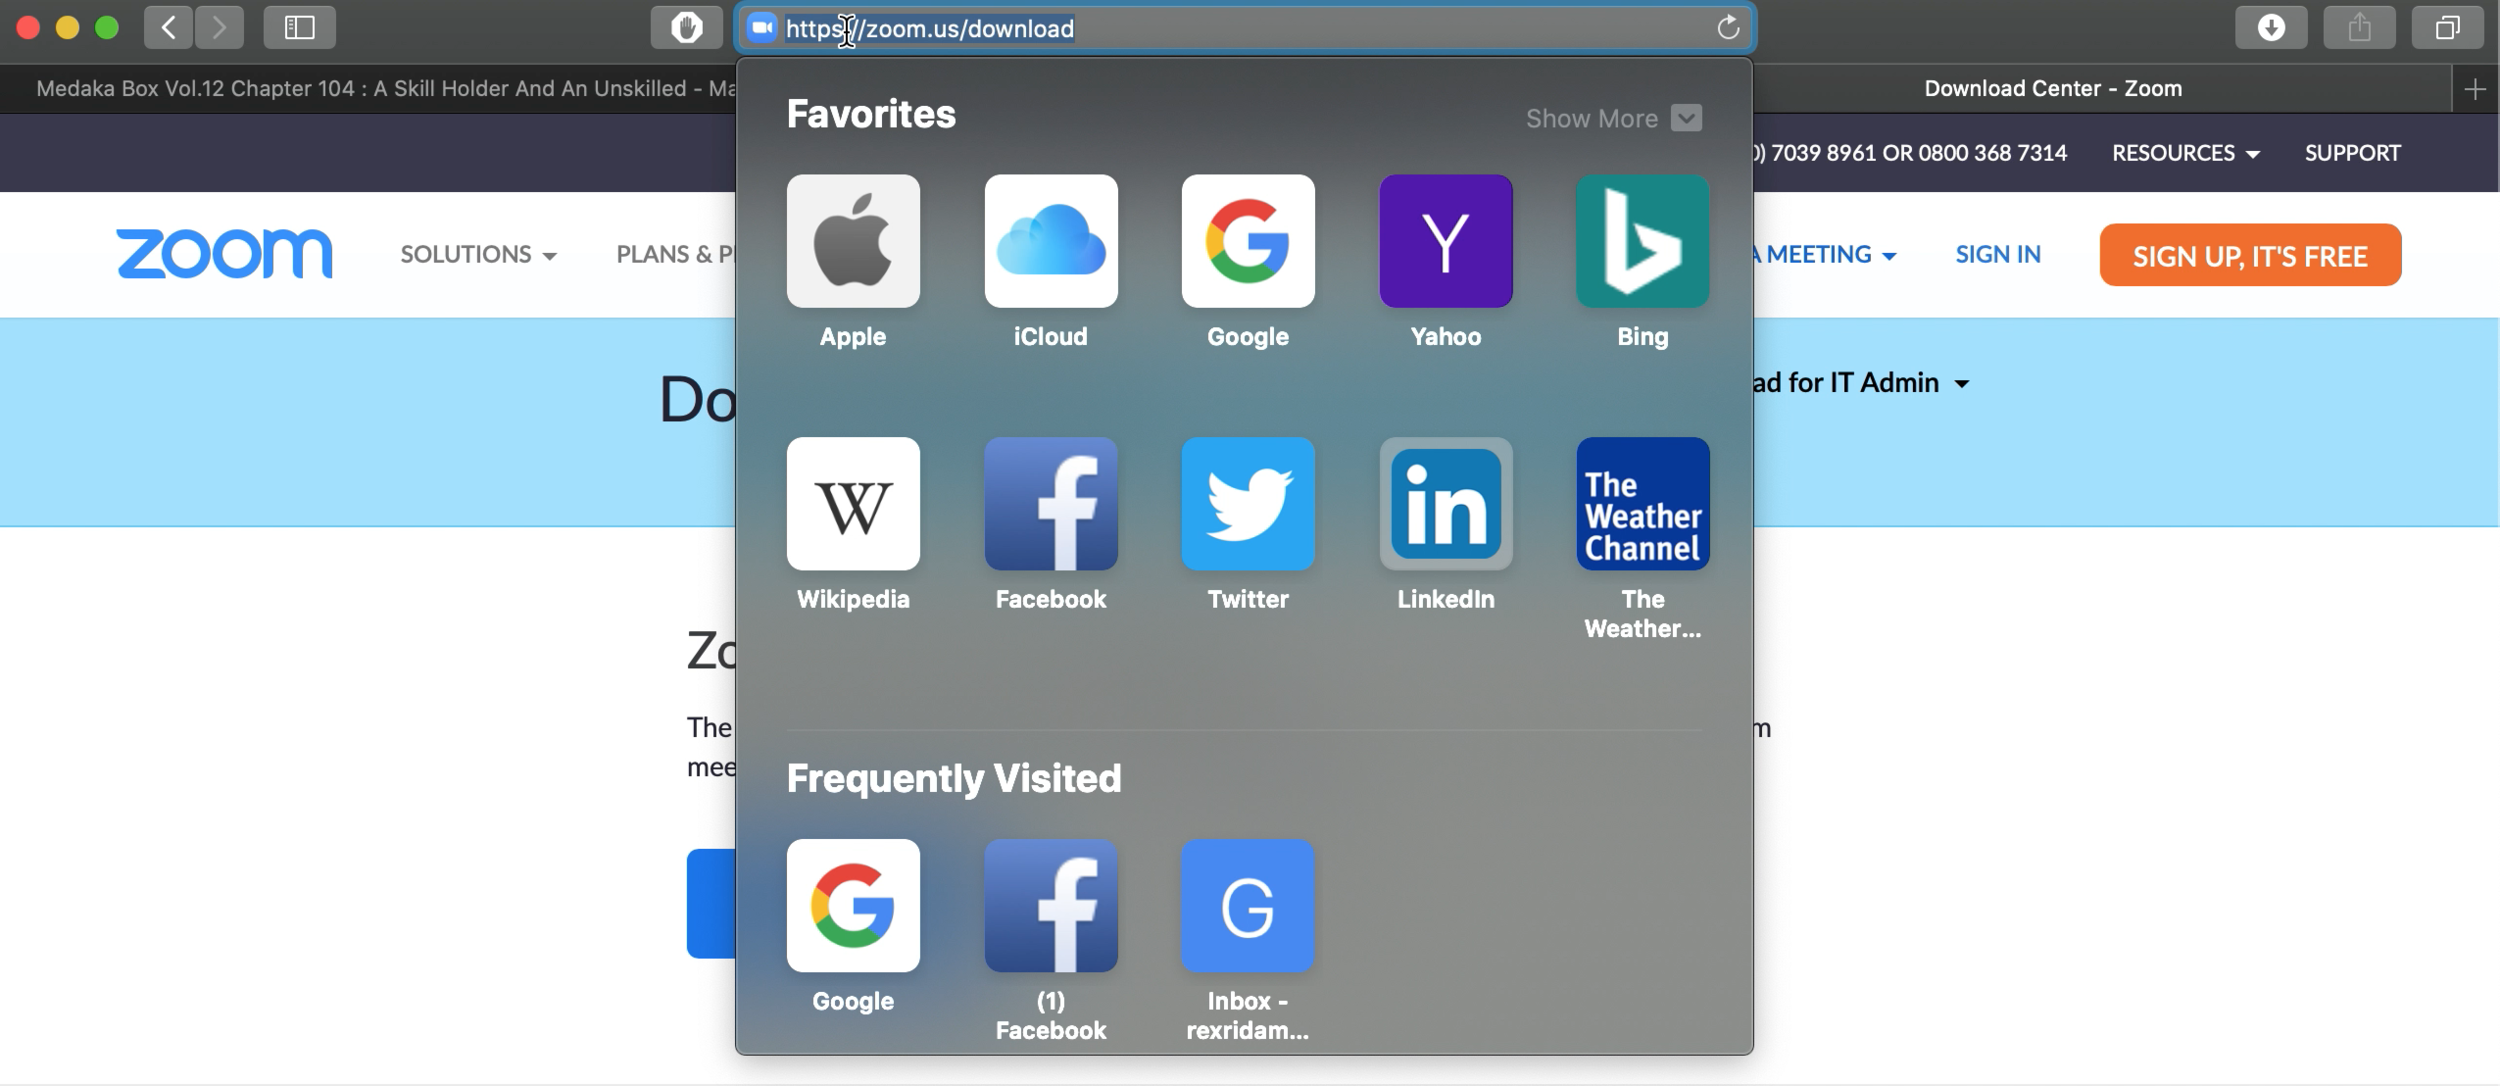
1. Open your computer's internet browser and navigate to the Zoom website at Zoom.us/download.

2. Click "Download" under Zoom Client for Meetings

3. Once the .pkg file is downloaded, start the installation by clicking on it from your Download folder. Select “Continue”.
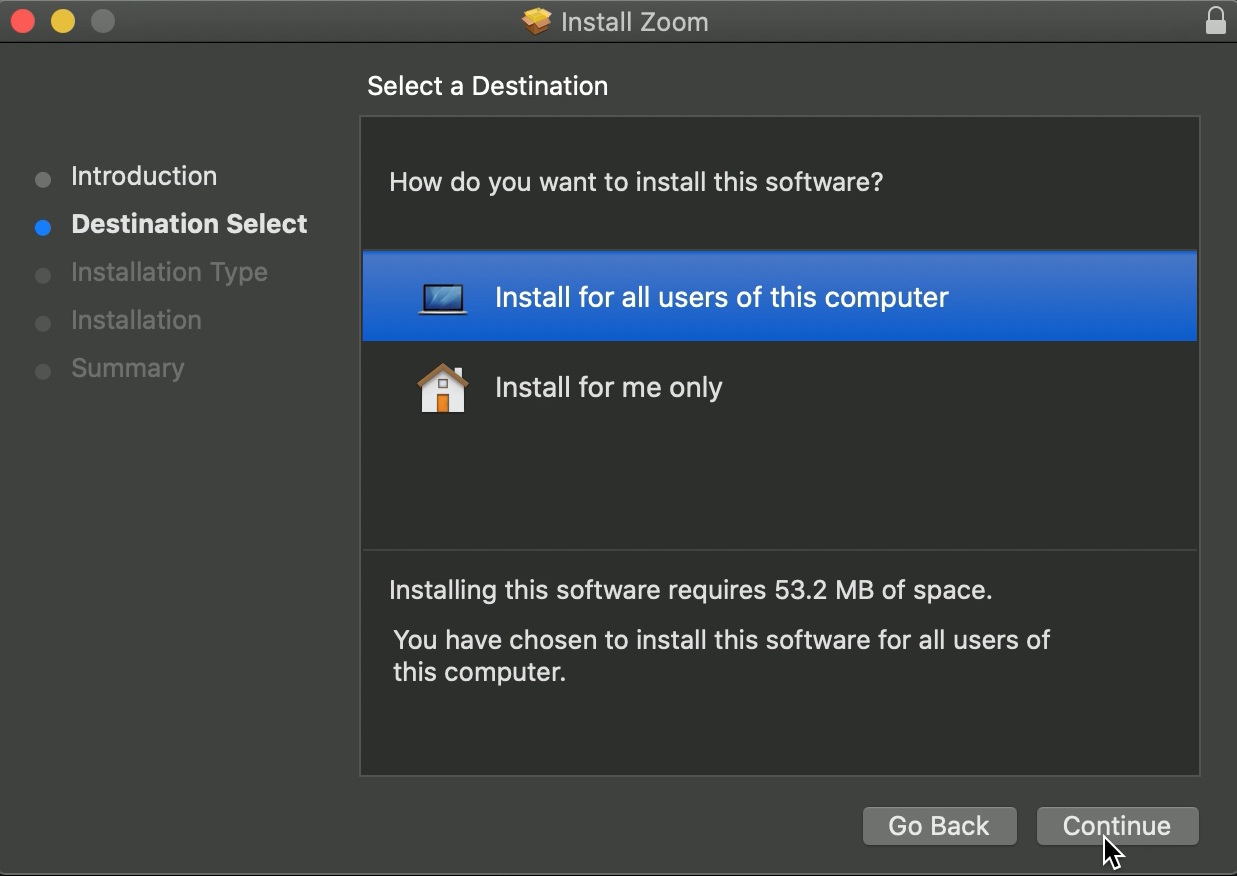
4. Select “Install for all users of this computer”, and “Continue”.

5. Select “Install”.

5. A password prompt may come up. Insert your password and select “Install Software”.

6. Close the installation once it is done.

7. Open your System Preferences. Go to Security and Privacy.

8. Go to the Camera section from the list on the left, and make sure you’ve enabled changes by clicking on the lock on the bottom left.
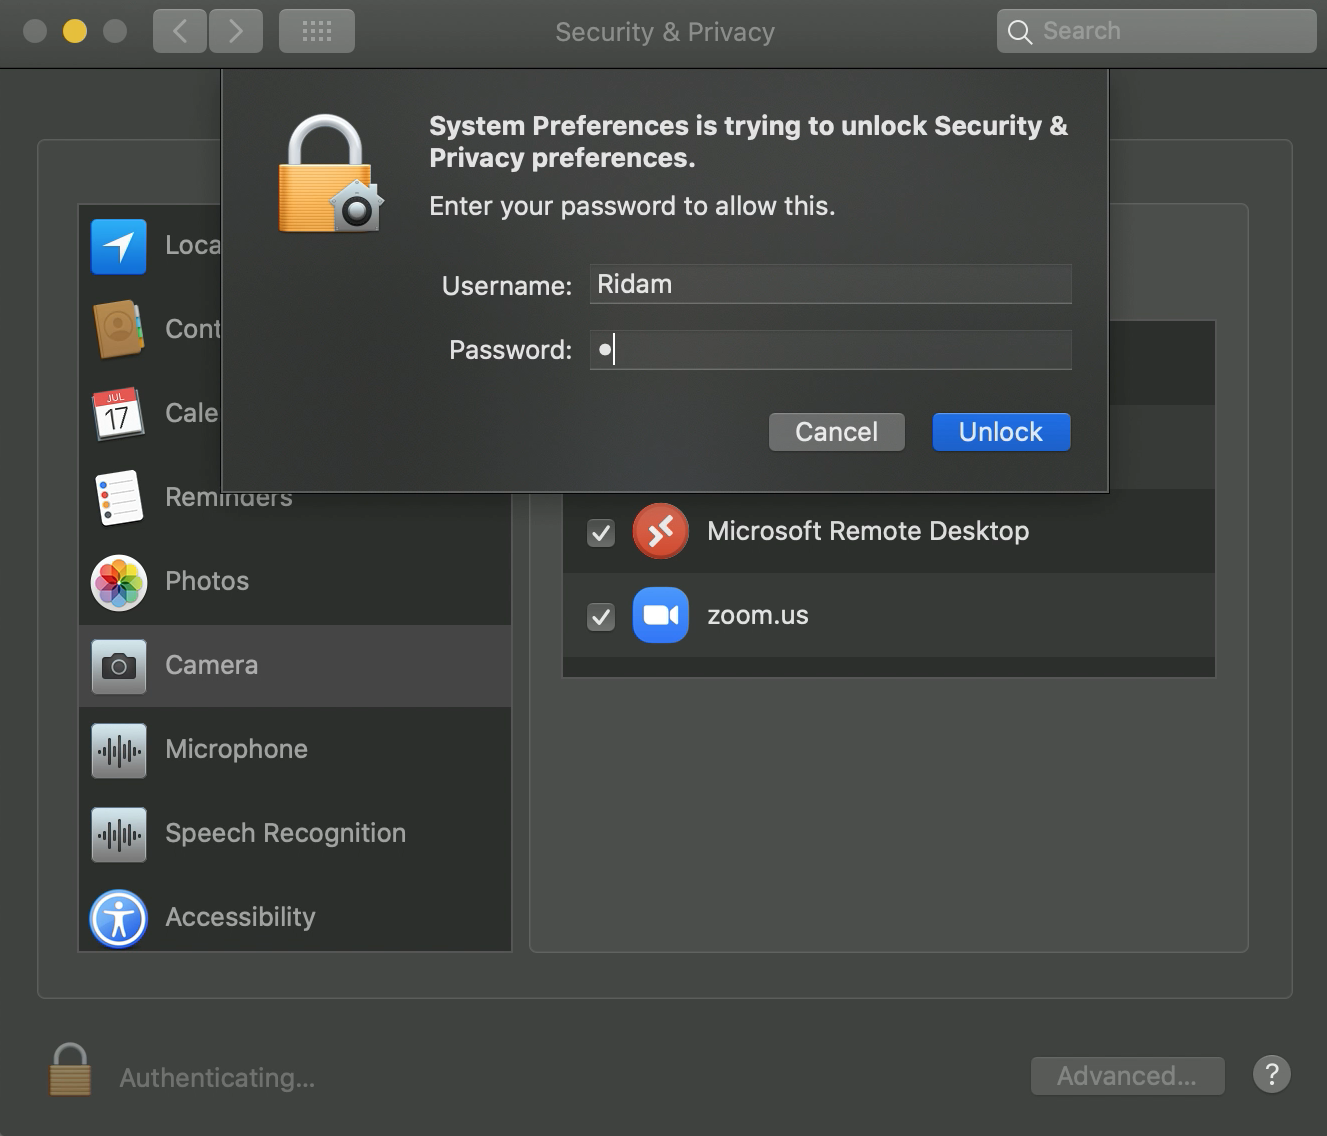
9. Enabling changes may require a password. Insert your password and tick the box on the right with the “zoom.us” label in order to allow camera recording.

10. Repeat the same process for the Screen Recording section. This will enable screen sharing.
Optional (required to be logged in)

Once you are logged in you will be greeted with the Zoom Home Page. Here you can create and join new meetings.

Joining a meeting
If you press “Join” on the Zoom Home Page you will be greeted with this pop-up. You can join a call by entering either the meeting ID or personal link name and the name you wish to have displayed on the call.

Virtual Background
To add a Virtual Background for some extra privacy you will need to go to the settings menu. On the Zoom Home Page press the settings icon on the top right hand side of the page.

This will open the settings menu. Click on the Virtual Background option.

You can then choose one of the default Virtual Backgrounds or add your own image.
Having problems with Zoom connection - head out to our Zoom Connection help: https://educademy.co.uk/connection