
How to Install Unity Hub, Unity and Visual studio on windows
Follow along with this video or carry on reading for step by step instructions.
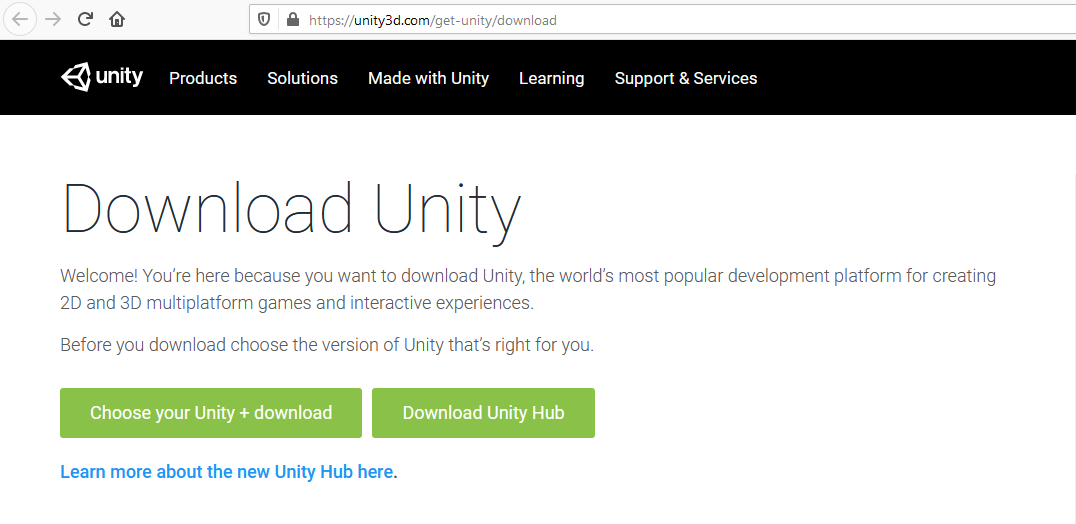
step 1 - Downloading
Navigate to the download page for Unity Hub: https://unity3d.com/get-unity/download. Then click on “Download Unity Hub”.
Step 2 - Installing unity hub
Once Unity Hub has downloaded, navigate to where it was downloaded to and run it.
Click through the Installers steps, agreeing to the Terms of Service. You can also leave the install location as what Unity has already set, or you can choose a different location.
When the installer is finished make sure you have the “Run Unity Hub” box ticked.

When Unity Hub starts up you may see a windows firewall pop up. Just click the “Allow Access” button.

step 3 - installing unity and Visual studio
Now that Unity hub is open we can begin installing a version of Unity.
Navigate to the Installs tab, located on the left hand side.

Click on the Add Button

Next up select the version of Unity, in this case it will be the latest version, which is what we use for our courses. Make sure the version selected is Unity 2019.4.x

Unity handles the installation of Visual Studio for us, so make sure that the box is ticked for Visual Studio Community 2019. This is what we will be using to create C# code for our games.

Finally, we can agree to the Visual Studio EULA and Unity will begin installing. Unity will take quite a while to install, so don’t worry!

step 4 - ACTIVATING unity LICENCE
To use Unity, you need an activated licence.
Open the Unity Hub and sign into your Unity ID via the account icon in the top right of the window. If you don’t have an existing Unity account, you can create one by visiting the Unity ID website. Once you have logged in, click the cog icon in the top right hand corner and navigate to the License Management tab.

Click Activate New License and the option to choose the type of license to activate (Unity Personal, Unity Plus or Pro) appears.

To activate a Unity Personal licence, select the Unity Personal option and select either of the options which best describes your current situation and click Done.
step 5 - running unity and final checks
To test Unity is installed correctly and ensure Visual Studio is working, we will make a test project. To do this navigate to the projects tab and then click New


Now just click on Create and Unity will launch. Again, this stage might take a little while.

Once Unity is open we will check Unity is using Visual Studio. Navigate to Edit > Preferences > External Tools > External Script Editor and select Visual Studio in the drop down.

That is everything to installing Unity and now you are ready to participate in our Unity and C# camps.

Not ready to commit to a full camp? Book a trial: