

Step 1
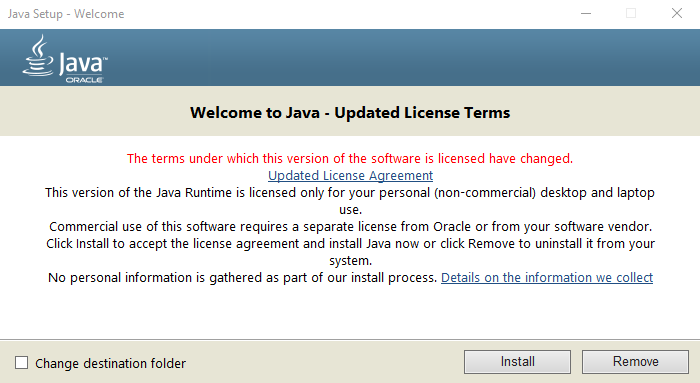
Download and install the latest version of Java for your version of Windows.
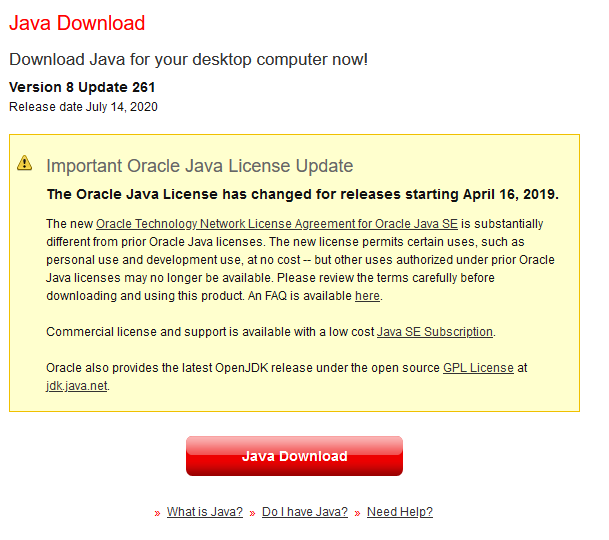
Click on the Java Download button and then run.
Click through the installer, you my have to restart your PC for this step.
Step 2
Select which type of Server you want to download. A Vanilla server will run exactly like a single player world or you can select the Paper version which is more efficient and can have plugins installed but may have altered behaviour compared to a single player world / Vanilla server.
Vanilla
Download the server from: https://www.minecraft.net/en-us/download/server
Paper Spigot
Download the server from: https://papermc.io/downloads
Step 3
While the server downloads make an easily accessible folder and then place the downloaded server inside. For example, place the folder on your desktop. Rename the .jar file to “Server”. Then open the command prompt, the quickest way to do this is pressing Windows Key + R, typing cmd and pressing enter.
When the command prompt is open type cd and then the path of the Minecraft server folder.

Step 4
Run the server for the first time with the following command:
java -Xmx2G -Xms2G -jar Server.jarThe “2G” can be changed to whatever amount of RAM your system can handle giving to minecraft.
Step 5
The EULA, your server should have come up with an error. Navigate to the EULA.txt file and open it. Set the false value to true. Then re-run your server using the command from Step 4.

Step 6
Check the server is working by opening Minecraft, Multiplayer and then Direct Connect. Type localhost and hit connect. If the server is working you will load into the world.
Step 7
The final step is to port forward your server so your friends can join. The following example is for a Virgin Media router, but the steps are similar on any other.
Step 7.1
Find your local IP address, using the command prompt type “ipconfig” and look for IPV4 Address. That value is your local IP.

Step 7.2
Login to your router, your router should have an IP address on the back of it. Type this into your browser.

Step 7.3
Add a new rule, make sure to fill in the port numbers as 25565. If your router requires a Local IP address, type in the IP from Step 7.1. Click apply and then make sure to save the new rule.

Plugins
Plugins are coded in primarily JavaScript. We offer a JavaScript and Web Development camp that can give you the foundational knowledge to then begin coding your own Plugins.